Exercise 3: Up, Down, Under and Through…
Minor White, in mirrors messages manifestations (Aperture, 1969, ISBN: 0893813346)
You’re really starting
 to see that a photograph is a design we look at created with a viewfinder we look through. You, the photographer have to see both ways, and now, to test your ingenuity just a little bit more, we’re going to ask you to look up, down, under and through…to make your subject matter something else.
Brief:
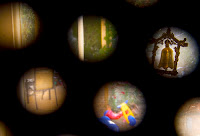
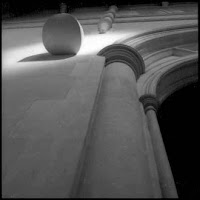
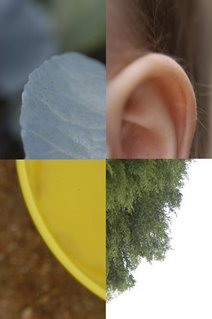
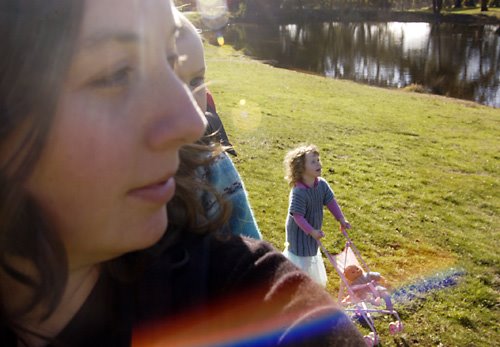
Make the familiar strange, and strangely beautiful (the best kind!) merely through angle of view, concentrating on the oblique and the diagonal.
Method:
Don’t forget, you are still concentrating on designing with your camera, but this time it is important for you to comprehend what the subject is in order to make it different from itself.
It’s simple. We’re merely asking you to get physical; to move your body as well as your camera, to find new angles and new views to transform your subject from what it is…to what else it could be!
A great place to start is in the ho-hum familiar old kitchen or the office. That way you can start right now, right where you are…no excuses.
Take ordinary
 utensils and kitchen or office appliances and photograph them from below, from above, underneath (the bits you never see) and then through; that is through other objects, framing (through ‘windows’ in these other objects) and layering (through transparent or reflective surfaces).
A wide angle lens will work these into wonders.
Don’t stop there. Try the human form next.
Once you’ve done
 that move outside into the extremes of perspective amongst architectural structures, and include views from high up (climb onto the roof!), and from down low (lie down), but this time with a telephoto lens, which will compress forms – and figures – into ciphers of themselves.
Compact digital cameras are made for this…especially if you can rotate the LCD screen.
Inspiration:
Once camera design built better mobility into the production of images, with the invention of light, small, hand-held cameras such as the collapsible ‘pocket’ bellows roll-film camera and the 35mm models, photographers deliberately sought out the most outlandish perspectives.
The Bauhaus students in particular reveled in these possibilities to challenge the boundaries of perception. They picked up on what the visual revolutionaries of Russia were doing and, taking their cue from jazz (See here also), tried the Cubist tricks invented by Matisse, Braque, Picasso and Gris. Andre Kertesz and Bill Brandt turned this approach into classical modernism.
~~~~
Don't forget to add your photographs from the exercise
to our Flickr gallery.
We also offer feedback for a nominal fee. Contact
us for more information.


